
Ota Azalea Woodblock Series — Part 4
In the first three parts of my Ota Azalea Woodblock Series, I moved from selecting and designing the bonsai image, to carving the woodblock, and then to creating expressive monoprint backgrounds with a Gelli plate.
In Part 4, those different processes finally come together.
I print the carved Ota Azalea woodblock over the backgrounds created in Part 3, then continue working each print individually with acrylic paint. From there, I mount the finished pieces onto panels and prepare them for framing.
This is one of my favorite stages because the process moves beyond simply reproducing the carved block. Each print begins to develop its own personality.

Preparing the Ink
Before printing, I prepare the ink.
For this project I’m using a black oil-based etching ink from Graphic Chemical and Ink Company. There are inks made specifically for relief and woodblock printing, but because I already work with etching inks in my studio, I’ve found this works well for my process.
Ink consistency is important.
I work the ink before putting it onto the brayer, loosening it with a little plate oil when necessary or stiffening it with magnesium carbonate. There isn’t one perfect consistency. Much of it comes down to experience and finding the feel that works for you.
Once the ink has the consistency I want, I distribute it evenly across a large brayer and then roll it onto the carved woodblock.
Like many aspects of printmaking, knowing when the ink is right takes practice. That experience—the feel of the ink, the sound of the brayer and the appearance of the surface—is part of learning the process.
Bringing the Woodblock and Background Together
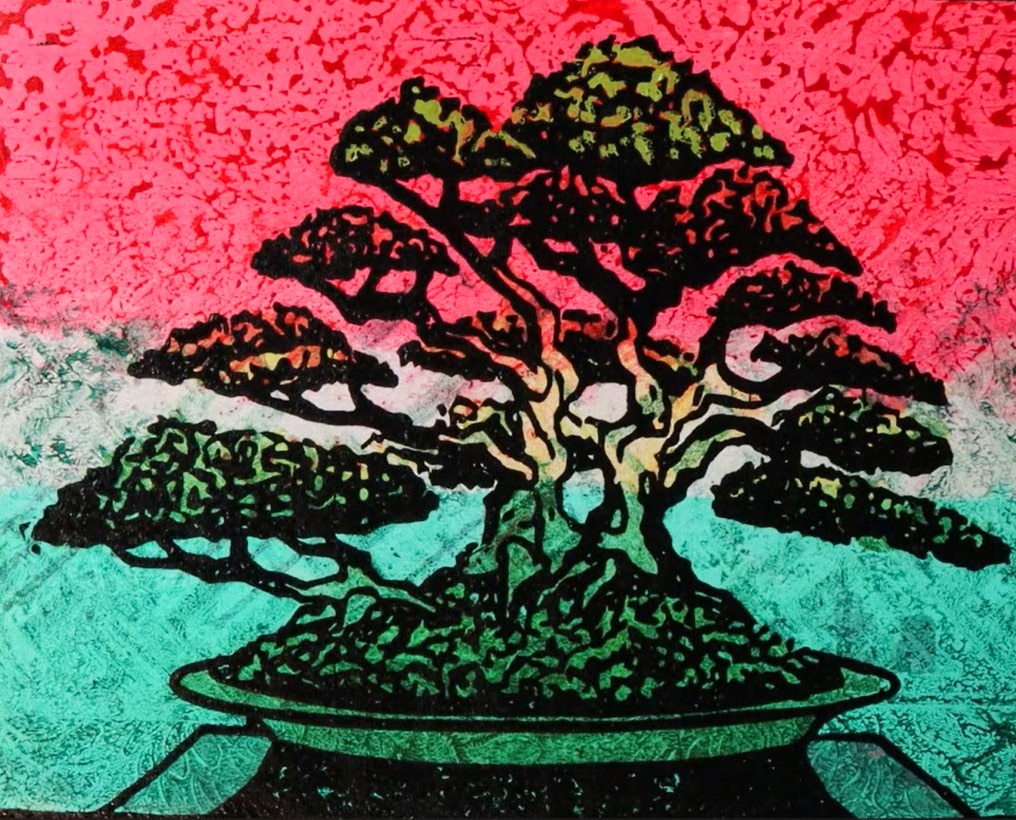
The exciting moment comes when the carved Ota Azalea is printed over the monoprint background.
The backgrounds already contain color, stencil patterns and marks developed in Part 3. The black woodblock impression adds another visual structure over them.
But I don’t consider the print finished at this point.
Instead, the woodblock becomes another layer that I can respond to.
This is where the process begins moving away from a traditional edition of identical prints and toward individual monoprints. Each background is different, and therefore each finished Ota Azalea develops differently.
Reworking the Print with Acrylic
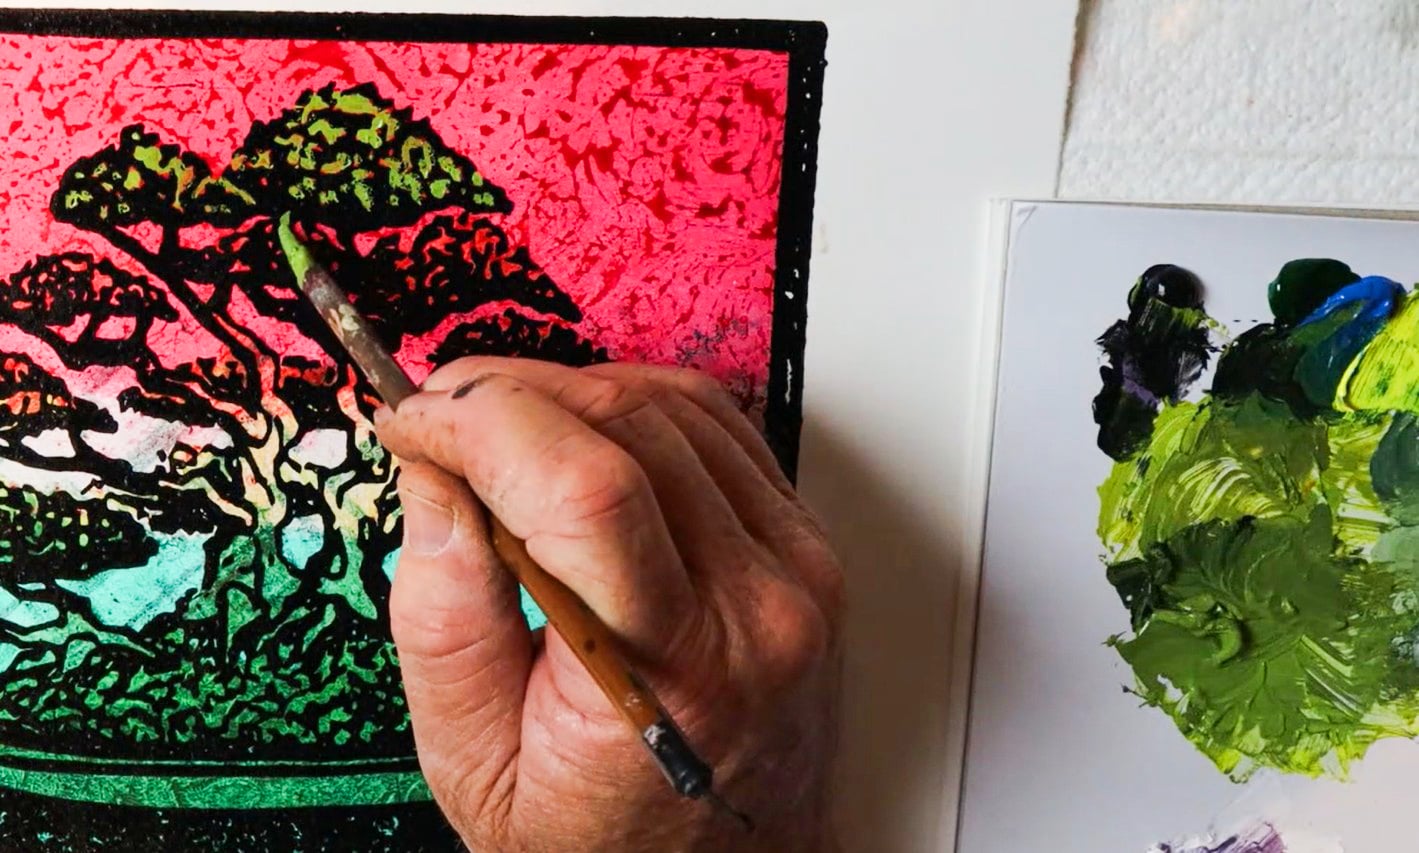
After printing the woodblock, I return to the image with acrylic paint.
I begin by developing the foliage, continuing the warm-to-cool color relationships established when I created the backgrounds. I can warm the greens or move them toward cooler greens and blues depending upon what the individual print needs.
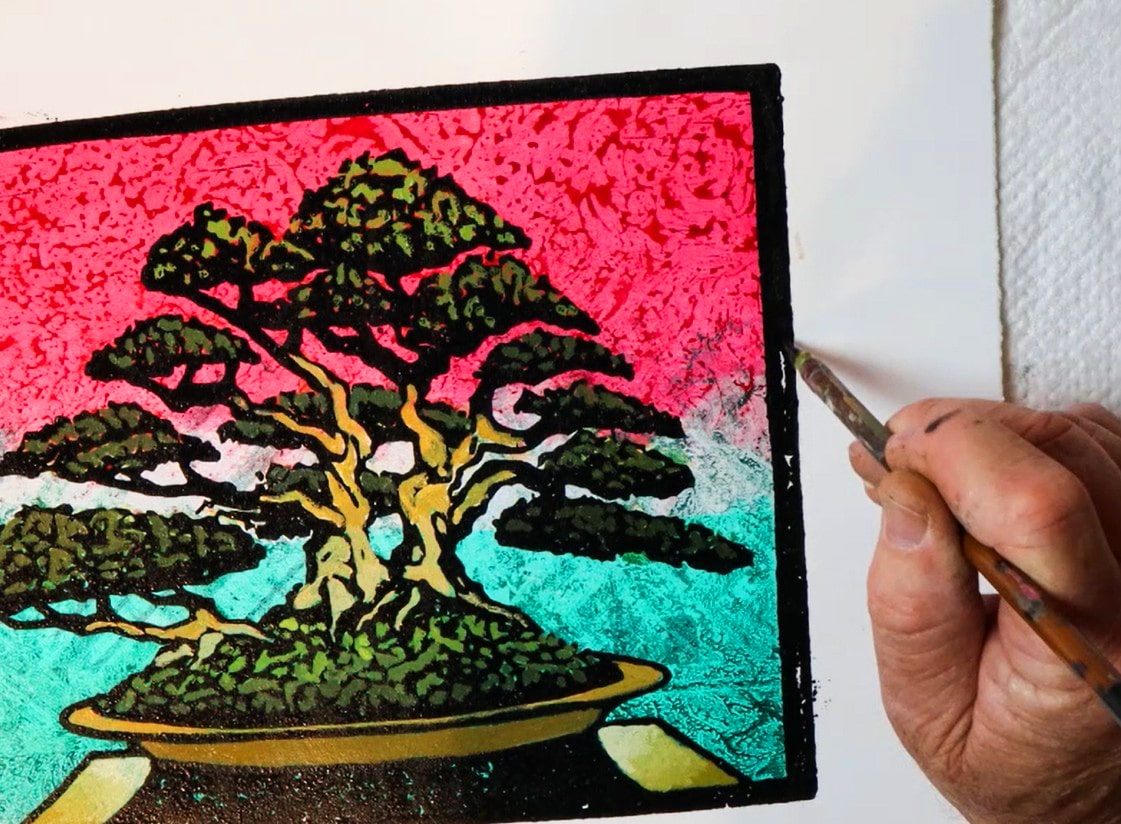
I then work back into the trunk and branches.
This is a patient process. Small brushstrokes gradually articulate the foliage and tree structure while allowing portions of the original woodblock impression to remain visible.
Rather than covering the print, I’m responding to it.
That distinction is important to me.
The carved line, printed ink, Gelli background, stencil marks and painted passages all remain part of the history of making the artwork.
Working Between Oil-Based Ink and Acrylic
There is a technical consideration when combining these materials.
My woodblock is printed with oil-based ink while much of the additional painting is done with water-based acrylic.
Before printing the woodblock, I apply clear gesso over the acrylic monoprint background. This prepares the surface for the oil-based printing ink. Once the print has been made, I can return to the surface with acrylic paint.
This also gives me an opportunity to address areas where the woodblock impression didn’t transfer completely.
I don’t necessarily see those imperfections as failures.
These are monoprints, and I expect each one to be different. If an edge doesn’t transfer completely or an area needs additional definition, I can return to it with paint and incorporate that variation into the finished piece.
In one of the backgrounds from Part 3, for example, there was a slight pull during the Gelli transfer. Rather than discard the print, I simply returned to the pattern and reconstructed the missing area.
The correction becomes another small part of the making process.
Mounting the Finished Monoprints
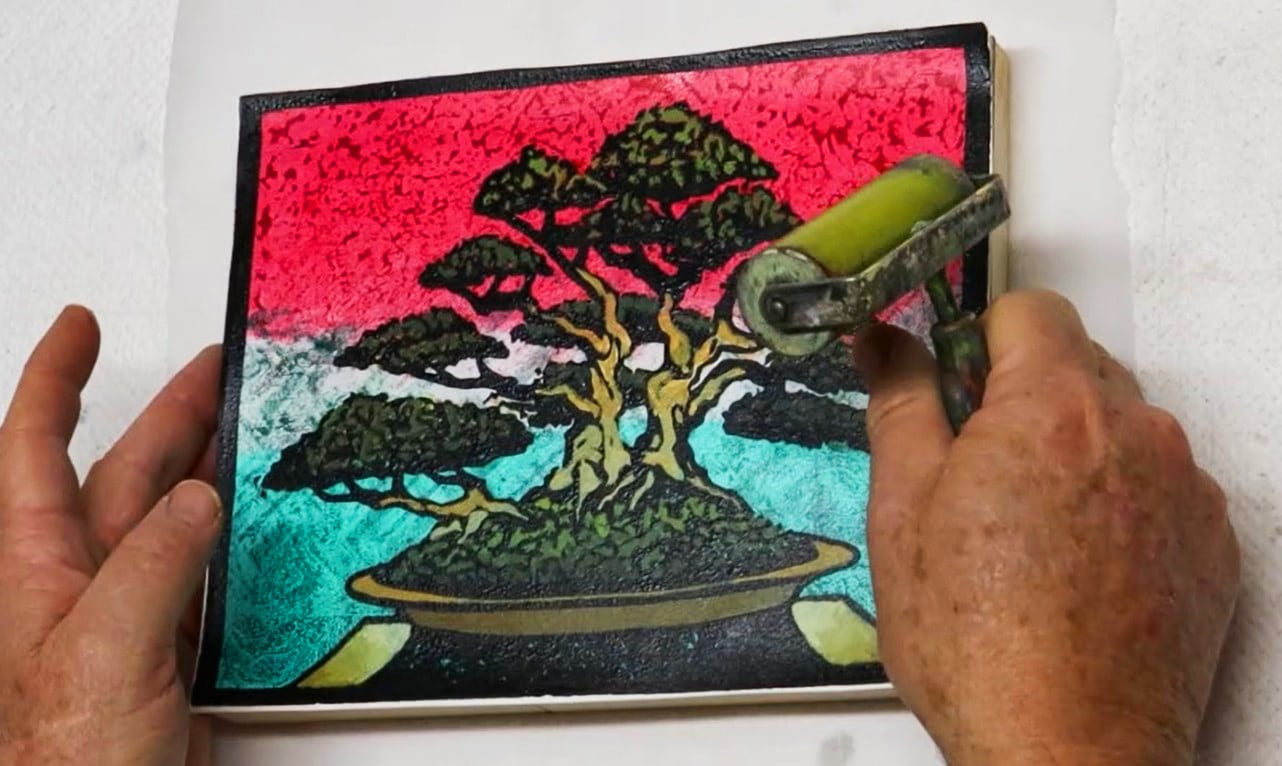
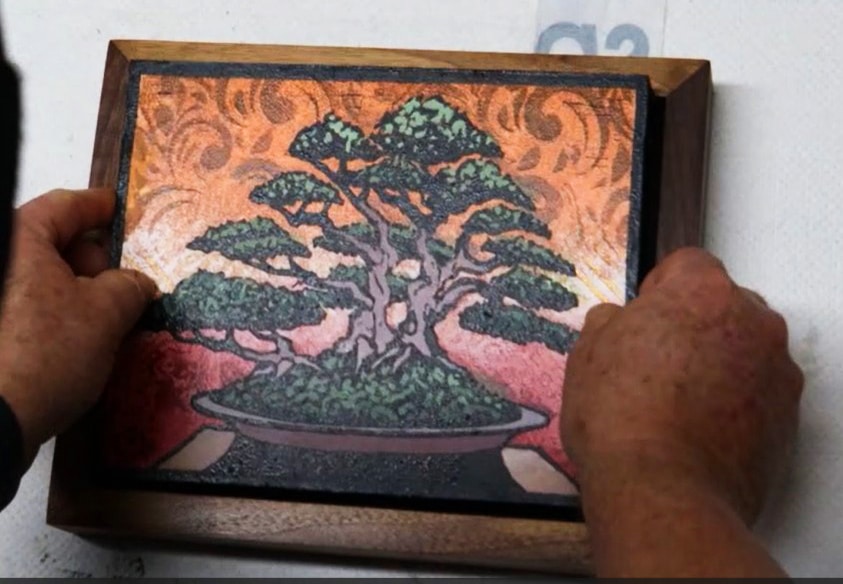
Once I’m satisfied with the images, I cut the individual prints and mount them onto prepared panels.
I use a process similar to the one I demonstrated in Part 11 of my Goyomatsu series. Acrylic medium is applied to both the prepared panel and the back of the artwork. The print is positioned carefully, covered with parchment paper, placed under pressure and allowed to dry overnight.
The panels themselves are prepared before mounting. I sand the surface and apply two substantial coats of gesso to create a barrier between the panel and the artwork.
And, as you’ll see in the video, sometimes studio practice includes realizing halfway through that you’ve forgotten something.
In my case, I forgot the parchment paper on one of the pieces.
I caught it, corrected it and continued.
That’s part of making art too.
From Print to Finished Artwork
After drying overnight, the mounted monoprints are flat and secure.
I paint the edges black and place the finished pieces into floating frames. The float frame allows the artwork to remain visually separate from the frame and emphasizes the object-like quality of the mounted print.
At this point, something that began as a photograph of a bonsai, became a drawing and design, was transferred to a woodblock, carved, combined with a monoprinted background, printed, painted, mounted and finally framed.
Each stage leaves something behind.
And that is really what interests me about this process.
Follow the Work as It Develops
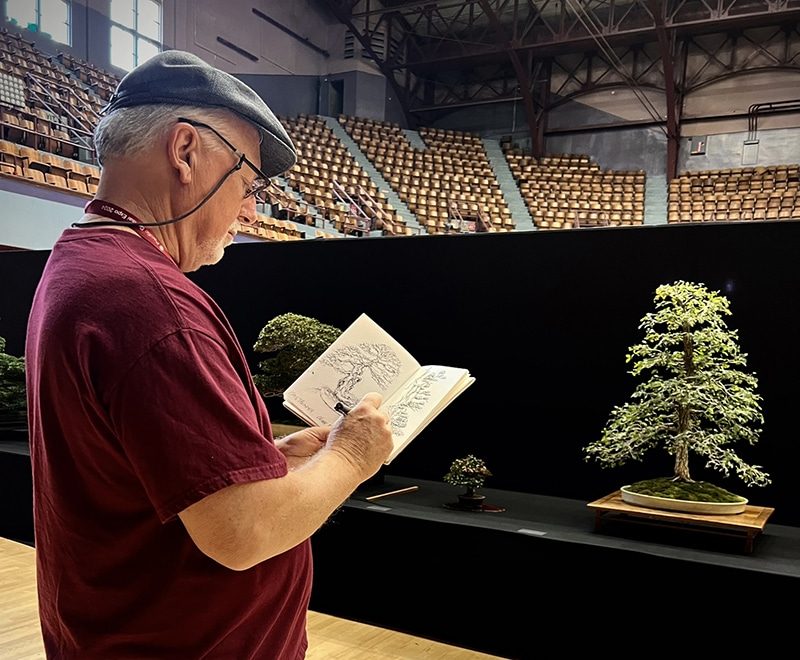
If you’ve followed the Ota Azalea from the beginning of this series, thank you. I hope seeing the work develop over several stages gives you a better understanding of what goes into each finished piece.
For me, sharing the process is part of sharing the artwork itself. A finished piece contains decisions, changes, experiments and sometimes mistakes that aren’t necessarily visible when you encounter it on the wall.
If you’re interested in bonsai, printmaking, mixed media, or simply seeing how an artwork develops in the studio, I invite you to continue following my work.
You can watch Ota Azalea Part 4 on my YouTube channel, explore more of my bonsai-inspired artwork here on my website, or subscribe to receive occasional updates about new work, exhibitions, videos and studio projects.
And if something in this process—or in one of the finished pieces—connects with you, I’d enjoy hearing from you. One of the things I value about sharing my studio practice is the conversation that can develop around the work.
Ota Azalea Woodblock Series
Part 1: Designing the Ota Azalea woodblock
Part 2: Carving and printing the woodblock
Part 3: Creating expressive Gelli print backgrounds
Part 4: Printing, painting, mounting and framing the finished monoprints
The process may be complete for these prints, but the exploration of bonsai as a subject for drawing, painting and printmaking continues.
Stay Connected
Thank you for following along with the Ota Azalea Woodblock Series. Sharing how these pieces develop—from the original bonsai inspiration through drawing, carving, printing, painting, and framing—is an important part of my studio practice.
If you’d like to see what I’m working on next, follow along, ask questions, or simply stay connected, you can find me here:
Instagram: @ronreekers
Facebook: Ron Reekers on Facebook
LinkedIn: Ronald Reekers — Reekers Art
Patreon: Ronald Reekers on Patreon
I always enjoy hearing from people who connect with the artwork or the process, so please feel free to leave a comment or reach out. And if you’d like to support the continued development of my artwork and videos, you can join me on Patreon, where I share early announcements and additional studio updates.
I particularly like “people who connect with the artwork or the process” here. It speaks equally to fellow artists, bonsai enthusiasts, and potential collectors—which is exactly the audience this series is beginning to bring together.