Posted on

Excited to Finish the Amazing Mixed Media Artwork

With this post, I conclude my Goyomatsu White Pine mixed media series—a journey that began with a simple concept and evolved into a deeply layered artwork integrating pastel, monoprinting, kanji, and now, final mounting and presentation.

In Part 11, I take you through the final, critical steps that prepare the artwork for display:

  • I begin by revisiting the wood panel I constructed in a previous tutorial. (If you missed it, you can watch it here).
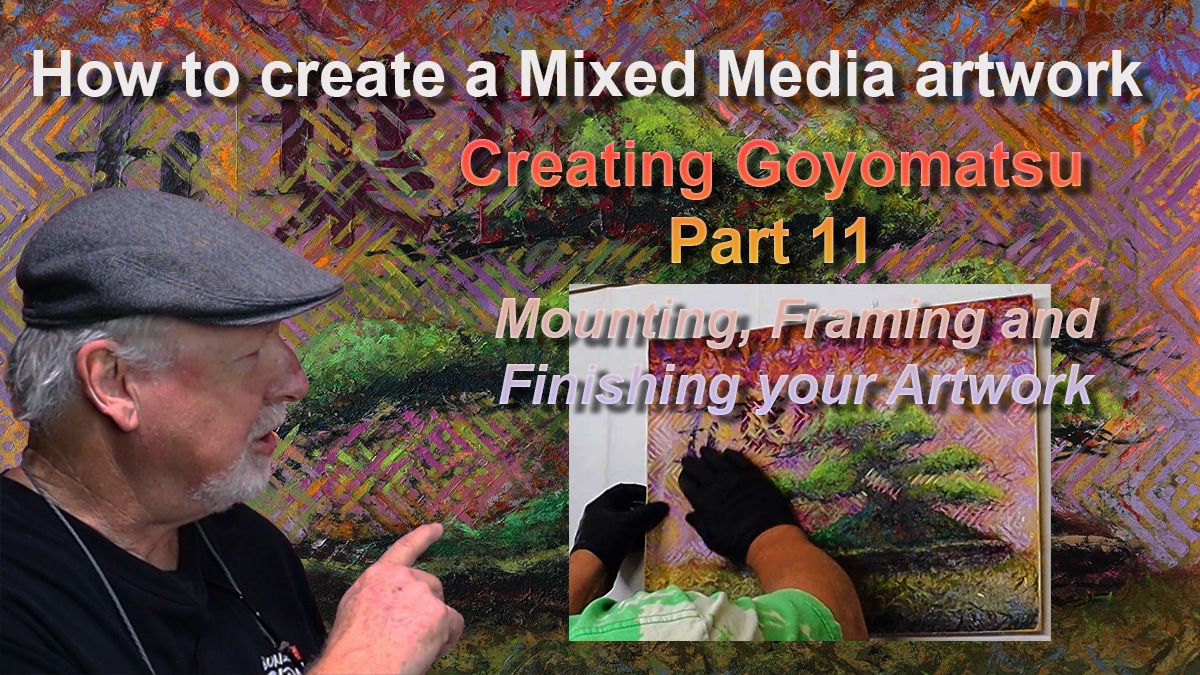
  • Using Liquitex Gloss Medium and a cheap bristle brush, I apply adhesive to both the panel and the back of the artwork.
  • I carefully center the artwork on the panel and use a brayer to secure it, eliminating bubbles and making sure the corners are properly glued.
  • After placing acetate and a masonite board on top, I let it sit under weight for a full day.
  • Once dry, I remove the cover and trim the edges with a carpet blade for a clean, professional finish.

The final touch is framing. I built a floating frame based on Michael Alm’s YouTube tutorial, then dry-fitted, shimmed, and secured the panel with wood screws. I sign the back of the artwork—preserving the image itself—and add a hanging wire to complete the piece. In some cases, I add a backing paper as well.

This step not only protects and stabilizes the work but gives it a polished presence—ready for the wall or gallery.

Reflecting on the Series

This 11-part series has been an exploration of concept, craft, and process. From the initial composition to drawing, pastel, printing, layering, painting, and now final mounting, each step was intentional and deeply connected to the soul of the subject—the Goyomatsu (White Pine) bonsai.

My hope is that this series offered both insight and inspiration, whether you’re a practicing artist, bonsai enthusiast, or curious observer. Creating something from the ground up—from sketch to frame—is both humbling and energizing.

Thank You

Thank you for walking through this entire creative process with me. If you’ve been following the series, I’d love to hear your thoughts. Has it inspired your own creative journey? What parts resonated with you most?

You can watch the final video on YouTube here:
👉 Watch Part 11 – Mounting and Framing

And if you’d like to support my work or explore available artwork, please visit:
🌐 www.reekersart.com

🎨 Become a Patron: patreon.com/ronreekers

I also share process videos and upcoming projects on Instagram @ronreekers. Let’s stay connected.

Until next time, keep creating and appreciating the beauty of the process.

Ron Reekers

Posted on

The amazing power of an honest critique — Many Eyes on Aesthetics

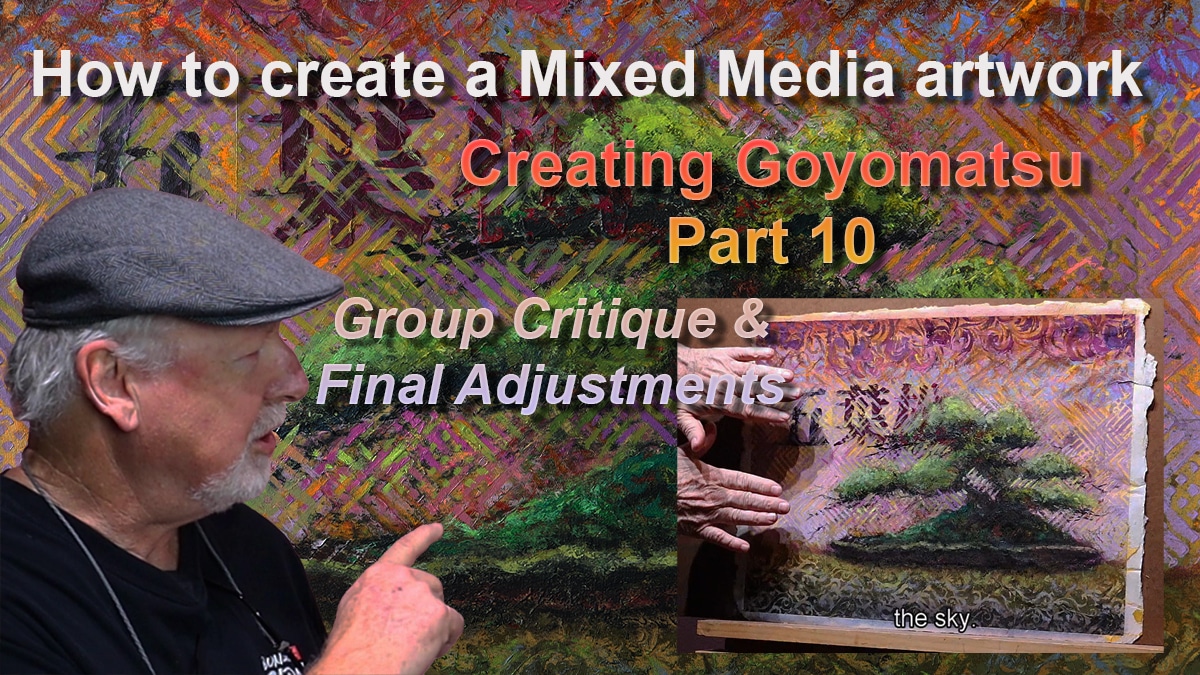
Every artwork reaches a moment where the artist must take a step back. In Part 10 of my Goyomatsu Mixed Media Bonsai Series, I invited a group of trusted artist friends into the studio to share their honest thoughts on the piece. These critique sessions have become an essential part of my process. There’s something invaluable about receiving input from others who can see what I might be too close to recognize—a “third eye” that brings clarity and insight.

Over time, it’s easy to lose perspective. We become so absorbed in our own work that we can miss imbalances or underdeveloped areas. That’s where the critique circle becomes powerful. It’s not just about receiving advice; it’s about engaging in a collaborative exchange with artists who bring their own years of experience and thoughtful observation to the table.

During this critique, we discussed several aspects of the work:

  • Color & Pattern Harmony: The group agreed that the color palette was vibrant and well-chosen. They also noted how the stenciled patterns enhanced the background, helping the motif feel unified—so the piece wasn’t just about the tree, but about the space it lives in.
  • Gradient & Light: There was appreciation for the vertical gradation from top to center, which strengthens the composition by helping the tree stand out.
  • Suggestions for Refinement: It was recommended that I emphasize the trunk and branching structure more clearly and deepen the negative space between the tree’s forms to improve contrast. The light in the background was praised, and it was suggested that subtle adjustments could make it even more effective in highlighting the tree.

From this input, I chose the suggestions that resonated with me—because critique is not about following every suggestion, but about listening for what rings true. I then re-engaged with the painting, setting up my palette, remixing key colors, and working on selected areas including the branches, negative space, and background lighting.

This session helped me bring the painting to a finished state—not by changing its direction, but by enhancing its clarity and cohesion. It was a reminder that honest, thoughtful critique—when done in a safe and supportive space—is one of the most generous gifts artists can offer each other.

The video concludes with a brief preview of Part 11, the final part of this series, where I’ll share how I mount the completed work for display.

I invite you to watch the video and join me in this step of the journey. And if you’re an artist yourself, I encourage you to open your work up to critique. Not every comment will apply—but the conversation is what sharpens your eye and strengthens your voice.

🎥 Watch other Parts on my YouTube Channel: https://www.youtube.com/@rreekers

📷 Instagram: @ronreekers
🌐 Website: www.reekersart.com
💌 Subscribe for blog updates and show announcements
🎨 Become a Patron: patreon.com/ronreekers

🖼 Explore More Blogs:
Visit www.reekersart.com to see the full series, read past blog entries, or explore my other mixed media bonsai works.

Posted on

Rediscovering Exciting Forms in Pastel and Mark Making

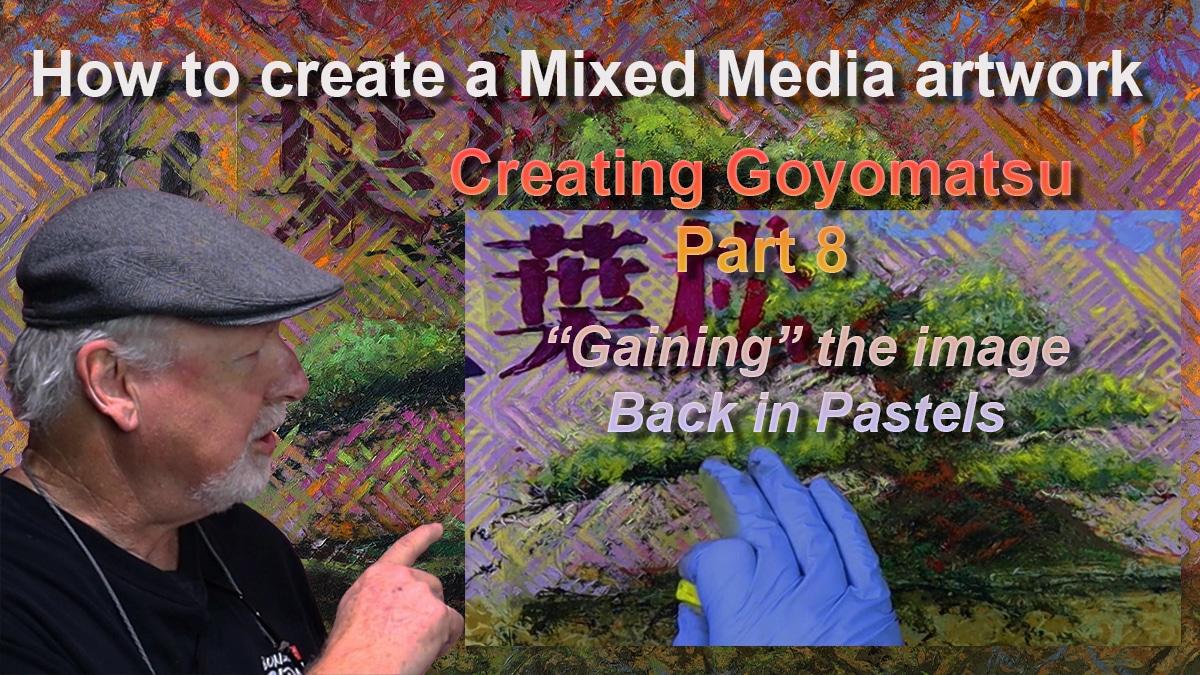
In Part 8 of my How to Create a Bonsai Artwork in Mixed Media series, we move from destruction to reconstruction. After intentionally breaking down the image in Part 7—a moment I call “Loss”—this chapter begins the delicate act of Gaining it back.

The tree, a Goyomatsu (White Pine), begins to reemerge through the tactile medium of pastel. But first, I sketch a structural guide with Conte Crayon, which helps lay the foundation for proportion and gesture. From there, I use dark pastel tones to define shadows and shape the negative space, slowly breathing life back into the bonsai form.

This is not just about technique—it’s about creative intuition. I intentionally step back and review how far the image has evolved from its origins: a reference photo and an earlier pastel study. That gap, that transformation, is where true creativity lives.

From roots (nebari) to canopy, and even the moss at the base, I explore how warm and cool tones play off each other, subtly anchoring the tree into its imagined world.

This part also came with technical hiccups: sound issues, focus problems, and my head blocking the shot more than once. I offer a sincere apology—but also an honest acknowledgment that I’m still learning to be a better videographer and editor.

Despite these imperfections, the spirit of the work remains strong. I continue to mark the background stencil and draw out the branching, preparing the piece for the next phase. Part 9 will involve fixing the pastel and dialing in the motif with acrylic paint.

🔍 Highlights & Takeaways:

  • Rediscovering the bonsai form through pastel drawing
  • Importance of contour and negative space in composition
  • Warm vs. cool color interactions in foliage and moss
  • Creative distance from source as a tool for intuition
  • Honest reflection on the challenges of video-making

🎥 Watch Part 8 here: https://youtu.be/enLV-T8Amr8
📷 Follow along behind the scenes on Instagram: @ronreekers

📖 Haven’t seen Part 7 yet? Read the full blog https://www.reekersart.com/dynamic-loss-and-gain-how-to-use-monoprint-techniques-in-mixed-media-art/
📩 Subscribe for updates and new release

As always, thank you for being part of this journey. Each part of this series is more than a tutorial—it’s a window into a living, evolving creative process. I hope it inspires your own.

Posted on

Creating an exciting painting with a beautiful background using Geometric and Organic stencils and Complimentary Colors.

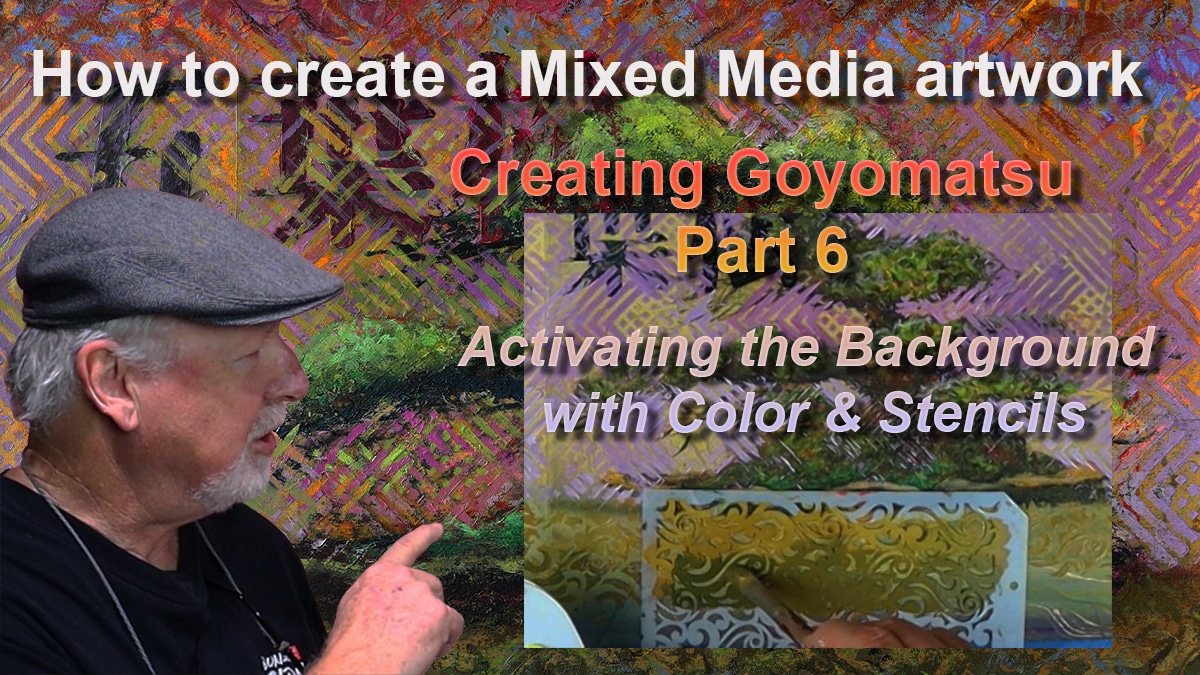
In Part 6 of my video series on creating a bonsai mixed media artwork, the focus shifts to the background. This step builds on the complementary color palette I developed in Part 5. So I begin to energize the painting using layered acrylics and stencils. The result is a vibrant, supportive backdrop that enhances the bonsai image and Kanji symbol without overpowering them.

Starting with Color

I begin by reviewing the color cards selected from the marble paper and use warm tones like Cadmium Yellow Light, Raw Sienna, and Cadmium Orange, and cool tones including Cobalt Blue, Permanent Violet, and Alizarin Crimson. To control value and intensity, I use Ivory Black and Titanium White. This will allow me to lighten or darken any mixture as needed.

Choosing and Placing the Stencils

To create structure and movement in the background, I introduce two types of stencils: geometric patterns for the center and organic patterns for the top and bottom of the painting. I do this so that the geometric stencils can provide a visual counterpoint to the natural forms of the bonsai tree, while the organic stencils hint at elements like wind, clouds, grass, and waves.

Applying the Paint and Building Layers

Using a relaxed, intuitive approach, I begin applying the geometric stencils with acrylic paint in the central area of the composition. Rather than trying to be overly precise, I allow the act of painting to be a bit messy and expressive. This makes the process more enjoyable and keeps the work dynamic.

Next, I move to the top and bottom sections and begin using the organic stencils. I carefully shift the values of the paint from dark to light to keep the viewer’s eye centered on the main subject. Throughout the video, I also show how I mix on the palette to control color temperature, intensity, and value.

The Background as a Supporting Character

This part of the process is not just about adding decoration—it’s about shaping a background that acts as a strong supporting character in the composition. Through thoughtful use of color and layered patterns, the background now feels alive and integrated with the bonsai image.

Watch the Full Process

This video offers practical insights into painting technique and creative decision-making. Whether you’re working in mixed media or another medium, I hope it gives you ideas to apply in your own process.

📌 Watch the full video here: YouTube @rreekers
📌 Support the journey on Patreon: https://www.patreon.com/c/ronreekers
📌 Explore more of my artwork: www.reekersart.com
📌 Follow on Instagram: @ronreekers

Feel free to leave a comment or question—I’d love to hear your thoughts or answer anything you’re curious about. The next video, Part 7, will dive into the theme of Loss and Gain, a reflective phase of this journey.