Posted on

Creating an exciting painting with a beautiful background using Geometric and Organic stencils and Complimentary Colors.

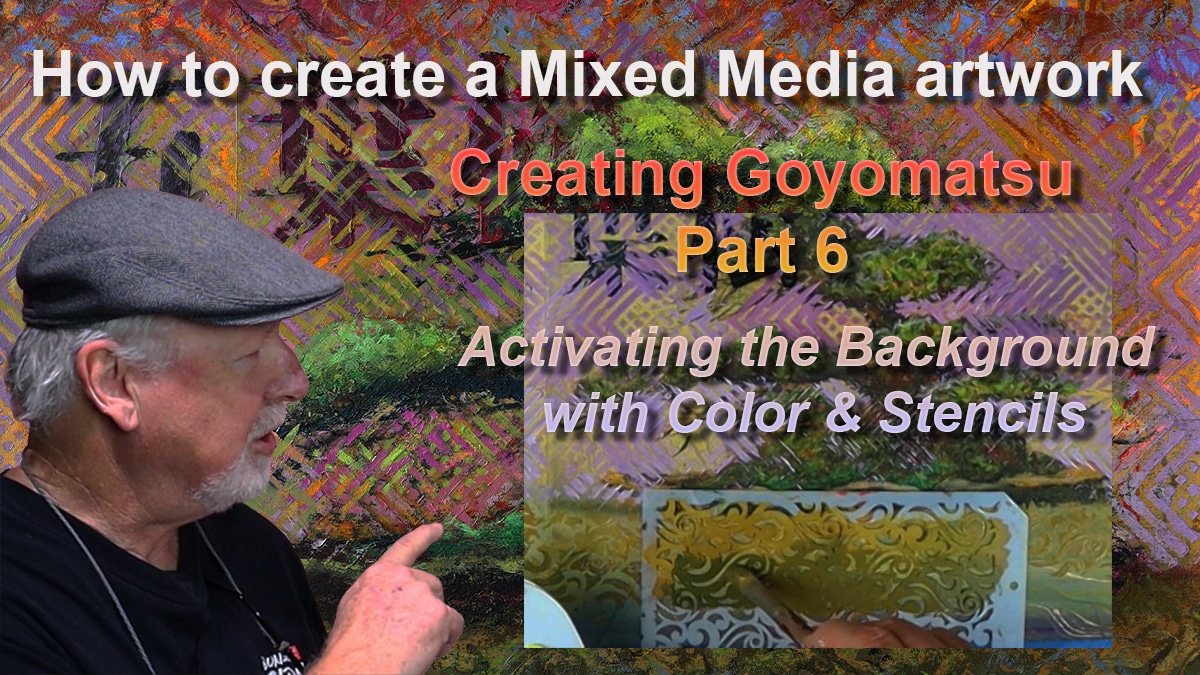
In Part 6 of my video series on creating a bonsai mixed media artwork, the focus shifts to the background. This step builds on the complementary color palette I developed in Part 5. So I begin to energize the painting using layered acrylics and stencils. The result is a vibrant, supportive backdrop that enhances the bonsai image and Kanji symbol without overpowering them.

Starting with Color

I begin by reviewing the color cards selected from the marble paper and use warm tones like Cadmium Yellow Light, Raw Sienna, and Cadmium Orange, and cool tones including Cobalt Blue, Permanent Violet, and Alizarin Crimson. To control value and intensity, I use Ivory Black and Titanium White. This will allow me to lighten or darken any mixture as needed.

Choosing and Placing the Stencils

To create structure and movement in the background, I introduce two types of stencils: geometric patterns for the center and organic patterns for the top and bottom of the painting. I do this so that the geometric stencils can provide a visual counterpoint to the natural forms of the bonsai tree, while the organic stencils hint at elements like wind, clouds, grass, and waves.

Applying the Paint and Building Layers

Using a relaxed, intuitive approach, I begin applying the geometric stencils with acrylic paint in the central area of the composition. Rather than trying to be overly precise, I allow the act of painting to be a bit messy and expressive. This makes the process more enjoyable and keeps the work dynamic.

Next, I move to the top and bottom sections and begin using the organic stencils. I carefully shift the values of the paint from dark to light to keep the viewer’s eye centered on the main subject. Throughout the video, I also show how I mix on the palette to control color temperature, intensity, and value.

The Background as a Supporting Character

This part of the process is not just about adding decoration—it’s about shaping a background that acts as a strong supporting character in the composition. Through thoughtful use of color and layered patterns, the background now feels alive and integrated with the bonsai image.

Watch the Full Process

This video offers practical insights into painting technique and creative decision-making. Whether you’re working in mixed media or another medium, I hope it gives you ideas to apply in your own process.

📌 Watch the full video here: YouTube @rreekers
📌 Support the journey on Patreon: https://www.patreon.com/c/ronreekers
📌 Explore more of my artwork: www.reekersart.com
📌 Follow on Instagram: @ronreekers

Feel free to leave a comment or question—I’d love to hear your thoughts or answer anything you’re curious about. The next video, Part 7, will dive into the theme of Loss and Gain, a reflective phase of this journey.

Posted on

Discovering exciting Colors and Creating an creating beautiful Gradations in a Bonsai Mixed Media Artwork

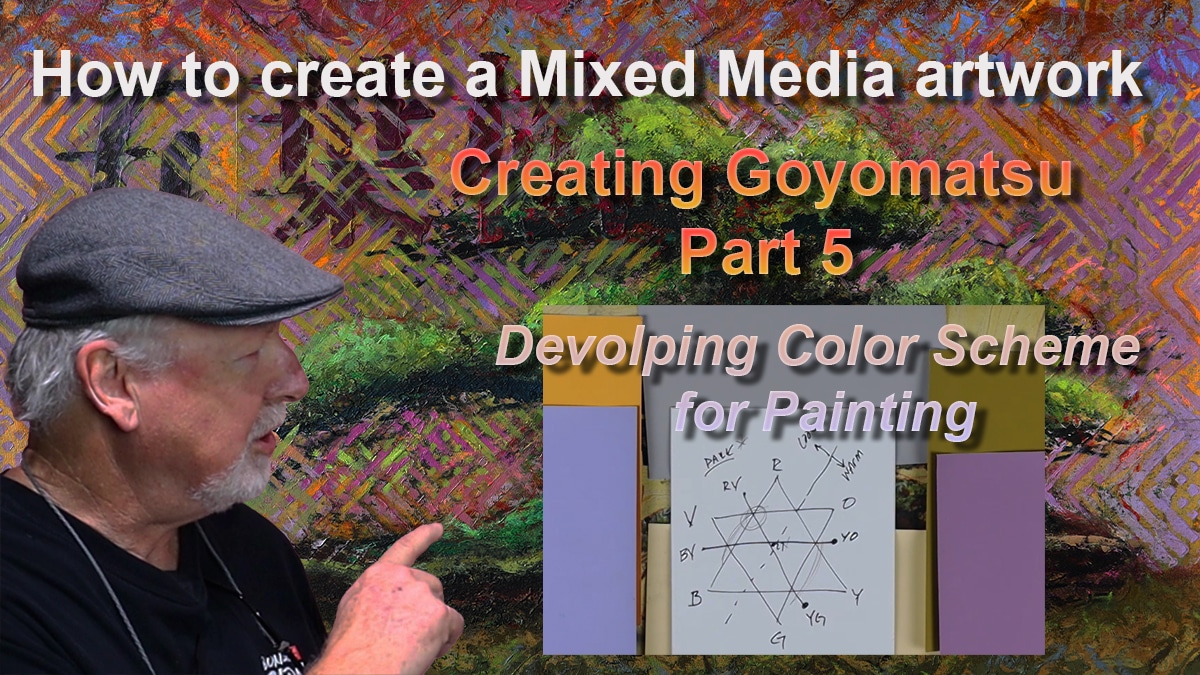
In Part 5 of my ongoing series on creating a mixed media artwork featuring a White Pine (Goyomatsu) bonsai, I take a deep dive into the process of developing a color scheme and applying watercolor gradation. This step brings new life to the transferred image and lays the groundwork for the visual mood of the piece.

Finding Color in the Marble Paper

The color scheme is first inspired by the colors already present in the marble paper. By selecting color cards that reflect the natural hues in the paper—like light yellow and mid-tone grey—I begin to define a palette. As I explore the paper more closely, additional colors are identified: a warm yellow-orange and a cool yellow-green. These become the basis for a broader range of complementary hues.

Using the Color Wheel and Value Study

With the key colors selected, I use a color wheel to find their complements. By drawing one triangle with primary colors (red, blue, yellow) and another with secondary colors (green, orange, violet), I can map where each selected color lies and find its opposite. From there, I look at each color’s value—whether it’s light or dark—and its temperature—whether it feels warm or cool.

This exercise not only supports the development of harmony in the artwork but also allows me to make informed choices before adding any paint to the surface.

Inspiration from Ukiyo-e Prints

As I reflect on historical influences, the art of Ukiyo-e Japanese prints comes to mind. These works often use strong gradations of color to guide the eye and focus attention on the center of the composition. Drawing inspiration from this technique, I begin applying watercolor washes from top and bottom edges, gradually lightening as they reach the center.

Applying Watercolor and Creating Focus

With the color decisions made and Ukiyo-e in mind, I start painting. Using watercolor, I work from dark to light, blending the tones smoothly across the paper. This not only enhances the background but also builds a visual rhythm that supports the bonsai and kanji elements.

The result is a gentle yet powerful transition of color that centers the viewer’s attention and begins to reveal the emotion and atmosphere of the final piece.

Watch the Full Process on YouTube

You can see the entire process step-by-step in my latest video, including the tools, techniques, and reasoning behind each choice:

📌 Watch here: YouTube @rreekers

📌 Support the journey on Patreon: https://www.patreon.com/c/ronreekers

📌 Explore more of my artwork: www.reekersart.com

📌 Join me on Instagram: @ronreekers

Let me know what you think about the use of color and gradation. Your feedback helps shape each new step in this creative journey!

Posted on

The Reward of Sketching a Bonsai Tree for Mixed Media

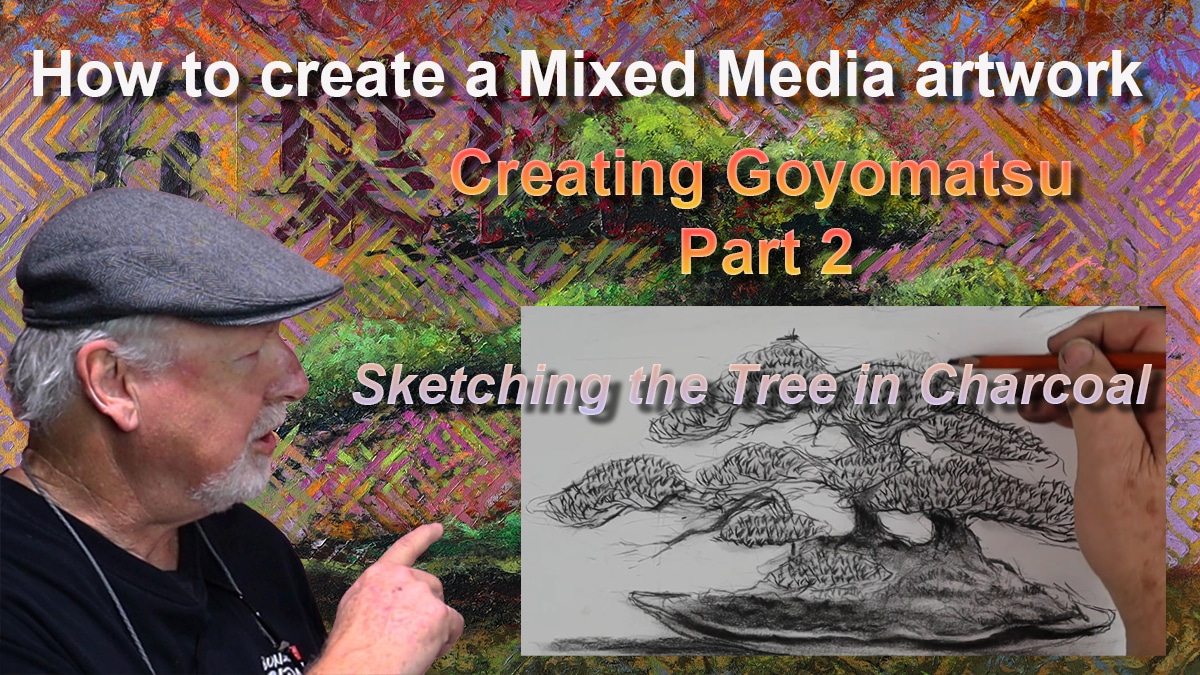
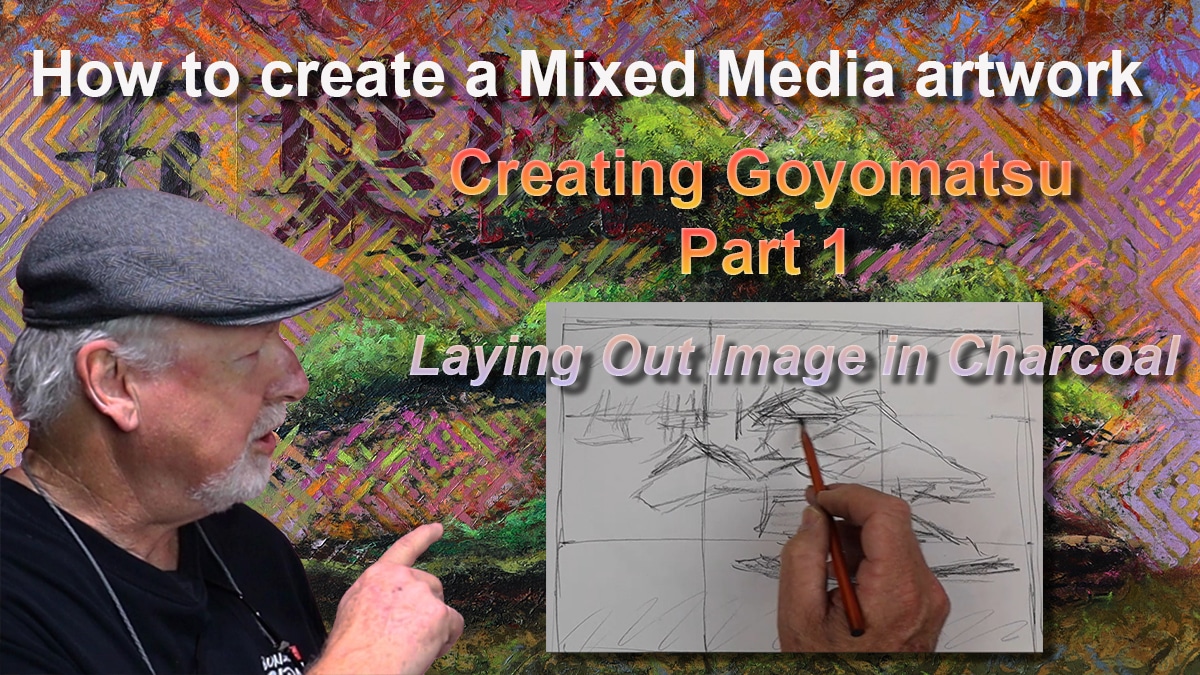
Creating art is a journey, and every piece begins with understanding its subject. In Part Two of my mixed media series, I focus on a detailed charcoal sketch of the Raft Style “Goyomatsu” White Pine. This step helps me connect with the tree and refine the vision for my final artwork.

To start, I revisit the rule of thirds, a fundamental tool for achieving balance in composition. Positioning key elements accordingly, I can thereby ensure harmony within the piece. Next, I define the trunk line, evaluating what works and what needs adjustment. This exploration allows me to make thoughtful decisions about the tree’s structure.

Moving forward, I lay out the secondary branches while considering traditional bonsai styling principles. These branches play a crucial role in conveying movement and natural growth. Then, I explore the base of the trunk, or nabari, observing how it meets the ground and interacts with the clam-shell pot. The final stage of the sketch focuses on the foliage mass and texture, bringing the tree to life.

Each step in this process is intentional. Sketching allows me to refine my approach before committing to the final mixed media piece. This study will guide me as I transition to pastel drawing in Part Three.

Why Sketching Matters in the Artistic Process

Sketching is the bridge between inspiration and execution. It allows an artist to observe, analyze, and interpret before committing to a final piece. For this artwork, I needed to study the bonsai tree in depth—its structure, movement, and balance—so that my final mixed media composition would not just depict the tree but capture its essence.

By creating this charcoal study, I familiarize myself with the trunk line, explore how it interacts with the ground and pot, and refine the branching structure. These foundational decisions will guide the next phase—bringing the tree to life in pastel.

Building on Composition: The Rule of Thirds

A strong composition is key to creating a compelling artwork. I begin this sketch by referencing the Rule of Thirds, a classic compositional tool that ensures balance and harmony within a piece. This method helps me position the tree in a way that feels both natural and aesthetically pleasing.

Breaking Down the Sketching Process

In the video, I take you step by step through the process of sketching the tree:

  • Defining the trunk line – Establishing the flow and energy of the tree.
  • Laying out the secondary branches – Exploring how the tree’s movement is expressed through its structure.
  • Outlining the base (Nabari) and pot – Connecting the tree to its environment.
  • Shaping the foliage mass and texture – Giving the tree depth and life.

By carefully working through each element, I ensure that the final artwork is not just an accurate representation but a dynamic and thoughtful interpretation of the tree’s unique form.

Looking Ahead: From Sketch to Pastel

This charcoal sketch is not the end—it is a stepping stone. In Part Three of the series, I will take this study and translate it into pastel, further refining the tree and deepening its presence within the composition.

Join the Journey

Art is about process, exploration, and continuous learning. I invite you to follow along as I document this creative journey, sharing insights into how an artwork takes shape from concept to completion.

🔹 Watch the video here: YouTube @rreekers
🔹 Support my work on Patreon: Patreon @ronreekers
🔹 See more of my art: www.reekersart.com
🔹 Follow me on Instagram: @ronreekers

Have you ever used sketching as part of your creative process? Let me know in the comments!

Posted on

Drawing the Basic Conceptual Layout of exciting Bonsai Artwork

Finding Inspiration

I began this project with a deep appreciation for the Goyomatsu bonsai. Its multi-trunk form symbolizes strength and balance. The idea to pair it with the elegant kanji for “Goyomatsu” came naturally. I wanted to create a dialogue between tradition and nature.

The marble paper provided the perfect background. Its organic patterns complemented the bonsai’s fluid form. Choosing the right floating frame was also essential. I needed a frame that would elevate the finished piece and give it the attention it deserved.

Planning the Composition

I carefully laid out the composition using the Rule of Thirds. This approach helped balance the elements within the artwork. Sketching the bonsai in charcoal allowed me to capture its dynamic structure. Next, I positioned the kanji to maintain visual harmony.

Developing the Artwork

A value study came next. This helped assess the light and dark areas to ensure depth. Compressed charcoal added bold, rich tones. I experimented with different background textures and marks to create a layered, dynamic feel.

Inspiring Creativity

This video series aims to be instructional. I hope to inspire viewers to create their own artwork or simply enjoy the process. There’s beauty in both bonsai and creativity, and I’m excited to share this journey.

Stay tuned for more updates as this project unfolds. Let’s explore the creative possibilities together.

Thank you for joining me on this journey!

Don’t forget to check out my other videos and subscribe to my channel for more art tips and tutorials!

To return to the Blog Home Page go to https://www.reekersart.com/blog-feed/

To view other bonsai related YouTube videos go to https://youtu.be/_FlDrnQdkkI

For post of Bonsai Related work visit my Instagram page at https://www.instagram.com/ronreekers/

If you would like to support my work you can become a patron at https://www.patreon.com/ronreekers


Visit Reekers Art for more insights and to view my latest work!

Posted on

Crafting Striking Dead Wood On A California Juniper Bonsai – The Jinning Technique

🎥 Video Description: Join me on a captivating journey into the world of Bonsai as I unveil the artistry behind crafting a stunning dead wood feature, known as a Jin, on a California Juniper Bonsai.

🌳 In this video will show you the meticulous process of revealing the hidden structure of the bonsai by delicately removing foliage, offering a unique perspective on its form. 🌿

🔍 Key Highlights:

00:30:00 Observing the tree

01:30:00 🌲Foliage Removal: Begin to reveal the Jin structure and define it place in the Bonsai composition.

02:45:00 🌲 Bark Removal: Explore the transformative moment as I skillfully remove the bark, exposing the raw and intricate wood beneath.

06:30:00 🛠️ Power Tools in Action: Dive into the creative process as power tools come into play, shaping the surface textures with precision and finesse.

10:30:00 🌅 Preservation Magic: Witness the preservation journey, transforming the wood into a warm, inviting hue that adds character and depth to the feature.

14:16:00 🎨 Beautiful Finish: Immerse yourself in the final reveal as the California Juniper Bonsai showcases a breathtaking dead wood feature, elevating its overall aesthetic. Whether you’re a Bonsai enthusiast or simply curious about the art of sculpting nature, this video offers an intimate look at the craftsmanship involved in creating a captivating Jin on a California Juniper Bonsai. 🌟

As we conclude this journey into the heart of Bonsai artistry, I hope the transformative process of creating a Juniper Jin has ignited your passion. Remember, each tree tells a unique story, and with the right techniques, you can craft your own enchanting ‘deadwood’ features. May this video inspire you to explore, create, and continue the joyful journey of Bonsai. Happy sculpting, fellow Bonsai enthusiasts! 🌳✨ #BonsaiInspiration #JuniperJin

To return to the Blog Home Page go to https://www.reekersart.com/blog-feed/

To view other bonsai related YouTube videos go to https://youtu.be/_FlDrnQdkkI

For post of Bonsai Related work visit my Instagram page at https://www.instagram.com/ronreekers/

If you would like to support my work you can become a patron at https://www.patreon.com/ronreekers

Posted on

Bonsai Drawing Series – Wisteria in Pastel

This instruction video shows you how I approach bonsai drawing in pastel. I start off with a sketch on black Canson pastel paper. I like using black because it act as a line as I progress with the drawing. To do the sketch I use a red pastel pencil. The layout of the sketch is important to define how the viewer will move their eye along the artwork. This generally starts at the intersection between the trunk of the tree and the soil. I like to start with a circular motion from there and into the foliage. I find laying out the detail is also important at this stage since it will dictate the texture.

When I complete the layout, it will give me a roadmap of how to proceed with the application of the pastel. When starting with the pastel I like using the darker colors first. This creates a base in which I can start to build my colors. I will lightly blend the color into the paper. To determine the colors that I will use in the motif, I have a set of color cards and compare these cards to the base colors. This helps save time since I don’t have to search through my large array of pastels. Once I determine the colors, I can then compare the pastels to the cards. You will see how I use the side of the drawing to look at how those colors look on the black paper. I enjoy applying the pastel around the object. The negative space defines the object (positive space). I can see how well they are working together at this stage. I love the way pastel lends itself to blending. I can create a soft light and ethereal background by rubbing the color transitions.

The rest of the time is finishing the work up to your satisfaction. I like to think of this as scratching the artwork until in itches no more

Posted on

Bonsai Drawing Series – Perspective

https://youtu.be/AwSXmQxDgNA

Perspective is the way we seeing things from our point of view.  This video discusses in detail how perspective, specifically ‘Linear Perspective’, influence our Bonsai Drawing and our Bonsai development. We begin with a fundamental understanding of one-point and two-point perspective. I show how of a horizon line and vanishing points originate from our point of view and how objects occupy our ‘Field of View’; i.e why objects look larger the closer they are to you. 

Applying perspective to our drawing gives the artist the technique for showing objects in space; I illustrate this using a Bonsai Pot.  When drawing a Bonsai Tree showing the pot accurately in space can give the drawing a sense of reality. The video also discusses in detail ‘Foreshortening’ and how that influences Bonsai Artist to develop Bonsai Trees with large bases and exaggerated taper. In addition, the concept of perspective also plays a role on how l we layout our Forest Plantings called ‘Saikei’.  The video finishes with a short demo on how I trim my forest plantings and how perspective influences my decision making.

Though perspective is conceptually “easy” to understand, practically it can be very difficult to apply.  My goal in this video is to remove some of that complication and provide a simple way of applying it to our drawing and bonsai development.

Posted on

Bonsai Drawing Series – Perception

Instructional video on understanding Perception in Bonsai Drawing

Perception is a subject studied by Philosophers and Artist throughout the ages.  Maurice Merleau-Ponty in his book ‘Phenomenology of Perception’ writes how Perception is the background of experience.  Artist looks at Perception as a relationship between what we see and a clear understanding of that experience; in our case the viewing of a Bonsai Tree.  In this video I take on that subject of Perception and how it can help you understand ‘what you see’ and translate that to a drawing descriptively and clearly.

One way of understanding “Perception” is to explore the phenomenon on how we see an object and how we interpret it in space.  As a child we draw the world flat and symbolically, whereas when we mature, and experience the world 3-dimensionally, we begin to “describe” the world more in terms of space; this is reflected in how we approach drawing.  The drawings created by the child is therefore much different that of an adult.

This video illustrates that they’re learnable tools that can help us define a descriptive space such that overlapping items, removing ambiguity, detailing and value shifting in the motif can better illustrate the tree we are drawing in a mature way. 

I sincerely hope this video clarifies your understanding of Perception in drawing and furthers your interest in our goal to help accurately draw your Bonsai tree.  Most importantly further your enjoyment of the beautiful Art of Bonsai.

Posted on Leave a comment

Bonsai Drawing Series – Types of Drawing

Instructional video on methods for drawing your Bonsai

In this video I discuss the 3 types of Bonsai drawings; Symbolic, Imaged and Descriptive. The video uses a Femina Juniper Bonsai as our ‘model’ and discusses the method for drawing in these 3 particular types, as well as the Pros and Cons for these methods.

In drawing a Bonsai Tree (or anything for that matter) we use all three types of drawing in one way or another. This video, and subsequent videos, will show how to recognize your approach and ultimately give you a good understand on how to do your own drawings within your own aesthetics.

My method is to tilted towards the descriptive way of drawing for getting a better understanding of “seeing” and a better method for understanding and visually experiencing your tree. The goal is to increase your appreciation for the beautiful world of Bonsai and help you develop the tool of drawing to increase your experience of Bonsai.